Configuring Swagger in .Net 6 with JWT and API Key Authentication

I have been working on a project and wanted to document our APIs to make it easy to see what endpoints we have. Luckily there is a tool called Swagger/OpenAPI and this is a language-agnostic specification for describing REST APIs. It generates a JSON file which is then used by Swagger to drive a front end. There are a few well-known implementations for .NET and these are Swashbuckle and Nswag.
Just for background information, the Swagger project was donated to the OpenAPI initiative. OpenAPI is the specification and Swagger refers to the open-source commercial products from SmartBear that work with the OpenAPI specification.
In short:
- OpenAPI is a specification.
- Swagger is tooling that uses the OpenAPI specification, for example, SwaggerUI.
- Swashbuckle is an implementation of OpenAPI for .NET and this is what generates the JSON for Swagger to use in order to display a front end. The SwaggerUI is contained within the Swashbuckle package.
We will be using Swashbuckle in this post.
GitHub Gist
If you want to go straight to code, see the GitHub gist. Note, you will have to add the code snippet below into the Configure method in the Startup.cs file.
app.UseSwagger();
app.UseSwaggerUI(c => { c.SwaggerEndpoint("/swagger/v1/swagger.json", "TestWebApi"); });
Alternatively, scroll to the bottom to see the code.
Configuring Swashbuckle
First, we want to install Swashbuckle so go to your project and add the NuGet package:
Swashbuckle.AspNetCoreNext, go to your Startup.cs file and add the below at the bottom of the ConfigureServices method:
services.AddSwaggerGen(c =>
{
    c.SwaggerDoc("v1", new OpenApiInfo { Title = "TestWebApi", Version = "v1"
});
And then, still in the Startup.cs file, add the code snippet below in the Configure method. Notice how we only add the UseSwagger in our development environments. This is because we don't want our API endpoints to be public. I mean they could be but for my use case, I didn't want the Swagger UI to be public. If you want the Swagger UI available in any environment then just place the two references to Swagger outside of the if block.
if (env.IsDevelopment())
{
	app.UseDeveloperExceptionPage();
	app.UseSwagger();
	app.UseSwaggerUI(c => { c.SwaggerEndpoint("/swagger/v1/swagger.json", 	"TestWebApi"); });
}
Now run your application and it should look like the below.
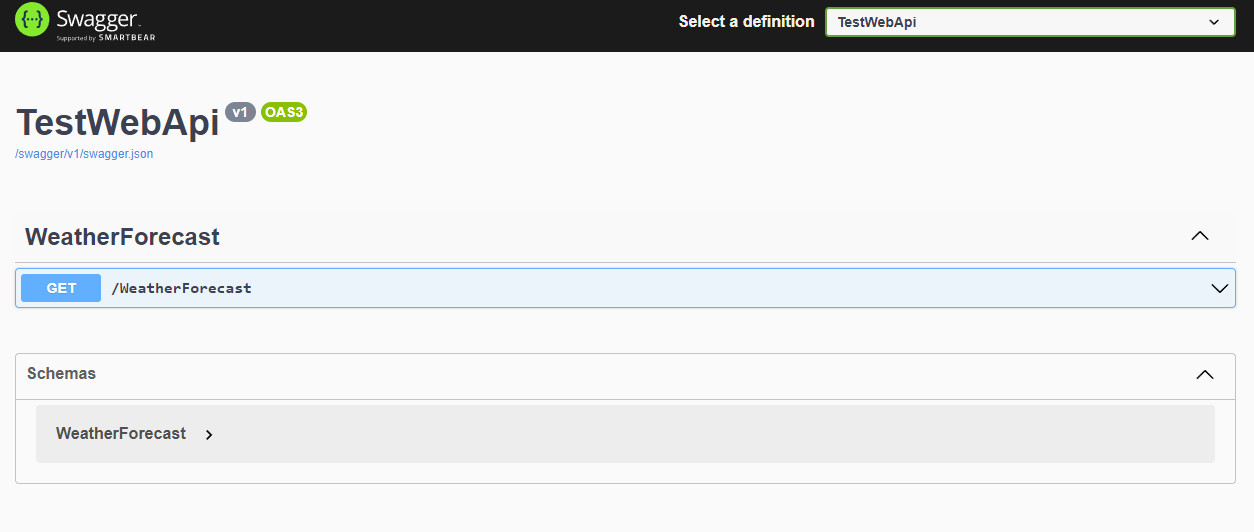
So well done, we now have swagger configured however there is no way to authenticate. Next, we will add some code that will allow us to authorise and call endpoints to our API successfully.
Security Definitions
In Swagger, you can describe how your API is secured by defining one or more security schemes (e.g basic, API key, bearer, oauth2 etc.) and declaring which of those schemes are applicable globally. To make it so that we can authorise via API Key or JWT, we have to add something called a Security Definition, and then to enforce this, we have to add a Security Requirement. The code below shows the Security Definition and this needs to be added in the AddSwaggerGen block.
services.AddSwaggerGen(c =>
{
    c.SwaggerDoc("v1", new OpenApiInfo {Title = "TestWebApi",     Version = 	"v1"});


    c.AddSecurityDefinition(JwtAuthenticationDefaults.AuthenticationScheme,
    new OpenApiSecurityScheme
    {
        Description = "JWT Authorization header using the Bearer scheme.",
        Name = JwtAuthenticationDefaults.HeaderName, // Authorization
        In = ParameterLocation.Header,
        Type = SecuritySchemeType.Http,
        Scheme = "bearer"
    });
}
The above code will now show a green lock however when you authenticate and make a request to the endpoint, it will not pass the authorisation header and this is because we haven't told it to.
You can see the "JwtAuthenticationDefaults.AuthenticationScheme", this is a class that holds 3 constant values shown below. I separated this into another class because we use these in the Security Definition and the Security Requirement.
public class JwtAuthenticationDefaults
{
	public const string AuthenticationScheme = "JWT";
	public const string HeaderName = "Authorization";
	public const string BearerPrefix = "Bearer";
}
In the same AddSwaggerGen block, add the Security Requirement code below.
c.AddSecurityRequirement(new OpenApiSecurityRequirement
{
    {
		new OpenApiSecurityScheme
		{
			Reference = new OpenApiReference
			{
				Type = ReferenceType.SecurityScheme,
				Id = JwtAuthenticationDefaults.AuthenticationScheme
			}
		},
		new List<string>()
	}
});
And that's it. Now you will have a green button called "Authorize" like the below:
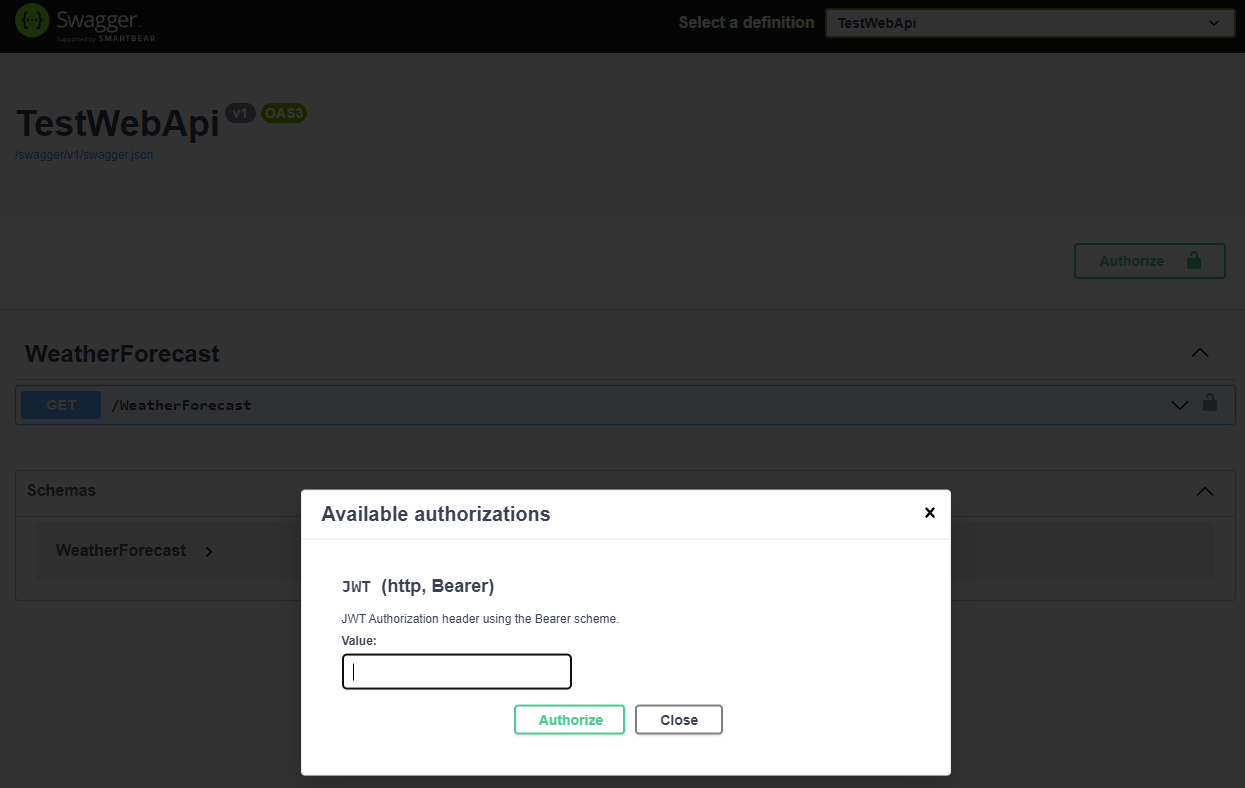
And when you click on it, it will bring up a modal showing you the available options to authenticate.
Conclusion
I hope this has given you some insight on how to configure swagger. In the snippets above, you might be wondering why there are two ways to authenticate instead of one. This is because I added two Security Definitions and Security Requirements and the user can use either to authenticate to the API. See the link to the repository below. This has lots more documentation and shows you the extra functionality that Swashbuckle has to offer.
 domaindrivendev
See the Github Gist below which has the code for both methods of authentication.